

When I was a kid, watching old family slides was an event. Dad would drag out the slide projector, a screen would be erected and popcorn would be made. Every new slide would bring a shared memory, a laugh and an occasional snide remark between siblings. Inevitably, a slide would get stuck and the lights would go on. Dad would try to unjam the slide while the crowd moaned about why it was taking so long.
Several years ago, I digitized my parents’ and grandparents’ slides. It was like finding buried treasure, discovering photos I had never seen.
The process for converting your family slides into digital copies to be shared may seem daunting. It’s not. It’s fun, and you’ll learn a few skills in the process.
Step 1: Get Organized
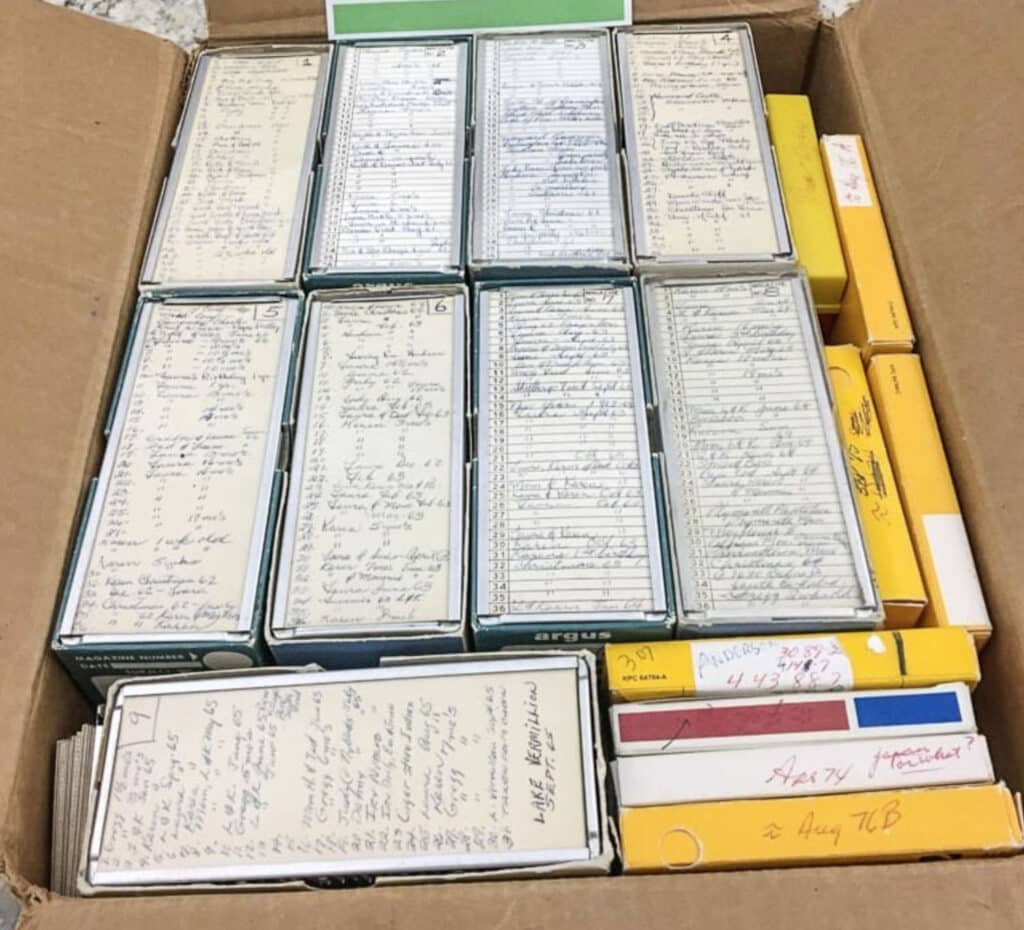
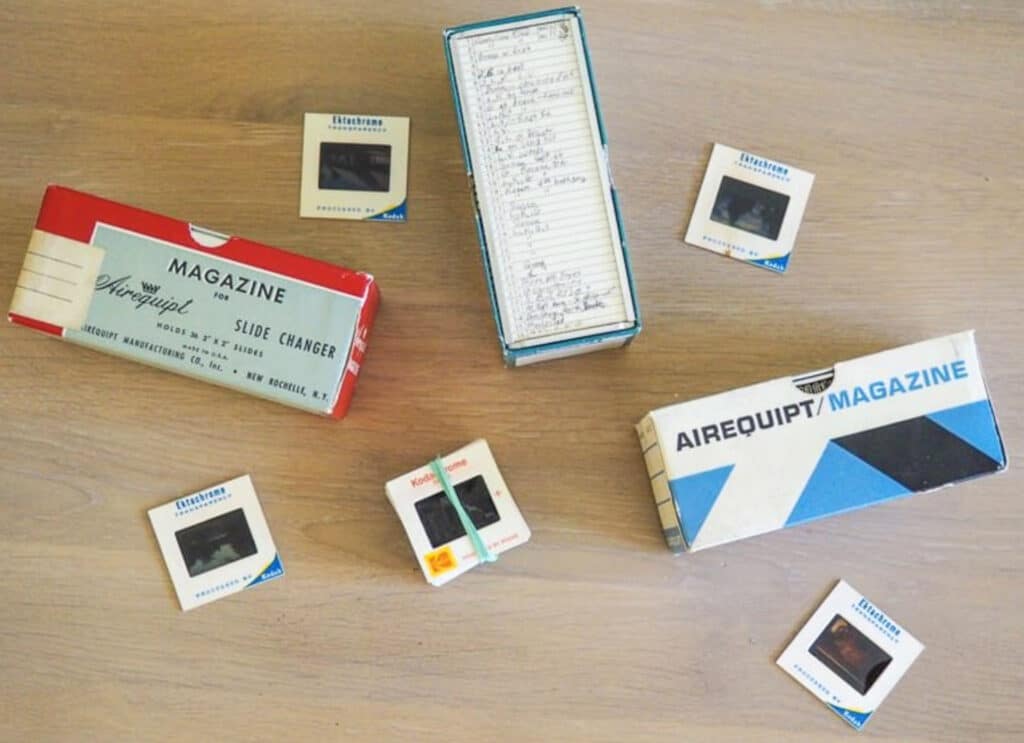
Sort through your slides and organize them in chronological order. My parents were highly organized, so my job was relatively easy. Keeping them in their original carousels, slide trays or boxes is ideal, but recycled Handi-Wrap or Reynolds Wrap boxes are a good fit for slides.
Label them the way you will want them labeled as digital files. The photo scanning service will create digital folders and name them based on the information you provide them. It will be much easier later on if you take the time to organize your slides.
Step 2: Send Them to a Photo Scanning Service
Although you can certainly buy a slide scanner, having a high-quality photo scanning service do the work is easier and produces a much better result. I have used ScanCafe in the past, but now highly recommend DigMyPics.com.
They blow each slide with compressed air to remove surface dust prior to scanning, use High Dynamic Range (HDR) exposure merging to select the best exposure, use scratch and blemish removal technology, and incorporate AI software to restore many images to their correct color. (Learn more.)
All of their scans are high resolution, producing high-quality JPEG files. If you desire, you can also receive TIFF files, or both. For most needs, JPEG files are fine. However, if you plan to edit the digital images in a photo program like Adobe Photoshop, then consider TIFF your go-to. The result is well worth the $0.49 per slide cost ($1.09 for non-standard slides).
Are you a bit nervous about sending your keepsakes across the country? DigMyPics.com makes the process easy, provides periodic email updates, and enables you to view images online as your slides are scanned. After the quality review process, you will receive a link to review your slides and may delete up to 20% of the slides you don’t want and just pay for the ones you do. That blurry, dark photo of the Wisconsin Dells… gone.
They will provide you with either a CD or DVD, FlashDrive, and/or customer-provided new external hard drive. If you want a CD or DVD, make sure you also get the files stored on a FlashDrive or external hard drive so that you can share them with others. You will also have an opportunity to download them directly to your computer.
Step 3: Enjoy the Show, Learn and Share
Now for the fun part – enjoying the photos of days gone by! To share these gems with family and friends, you can certainly send a bunch of emails or post on social media, but there’s a savvier way and you’ll rewire your brain in the process as you learn something new.
Introducing… photo sharing websites. There are dozens of quality photo sharing websites that make the upload and display of your new digital photos loads of fun. You can organize your photos, include them in slide shows, set them to music, and even create your own photo website.
I highly recommend SmugMug. It doesn’t offer a free option, but it’s a classic you get what you pay for. The basic subscription is $10.00 per month (if you pay annually) and it’s a bargain given the available templates, customization, unlimited storage and flexibility. They offer a free 14-day trial so you can try it out before committing. I love it! If this is all new to you, no worries, there’s SmugMug School that offers video tutorials and tips.
Once you’ve set up your home page on SmugMug, you can email a website link to family and friends to share your photos (it will be yourname.smugmug.com) or share on social media. If desired, you can set your page or a specific gallery to private by establishing a password for those who visit your site. People who visit your site may download the photos and, if desired, order prints.
Having your own custom site is a great way to share your digitized slides, as well as other photos and short videos you want to display.

So, dig out those boxes of slides and get started. There are memories to be captured and cherished in the years to come.
Let’s Have a Conversation:
How many old slides do you have? Have you started the process of digitizing them yet? Did any old memories come to mind that you had forgotten but were captured on slides?