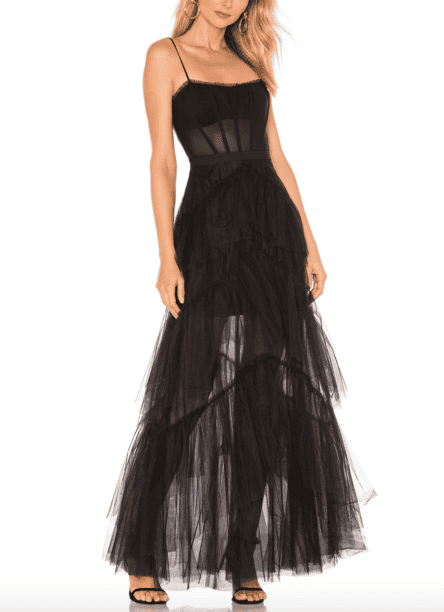
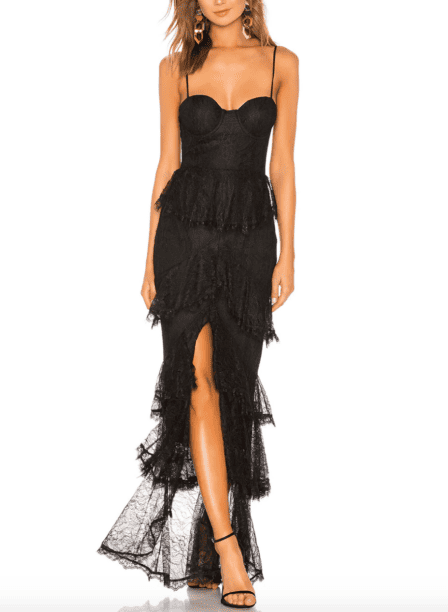
Tamra Judge’s Black Mesh Corset Dress
Tamra Judge’s Black Mesh Corset Dress / Real Housewives of Orange County Season 17 Episode 5 Fashion
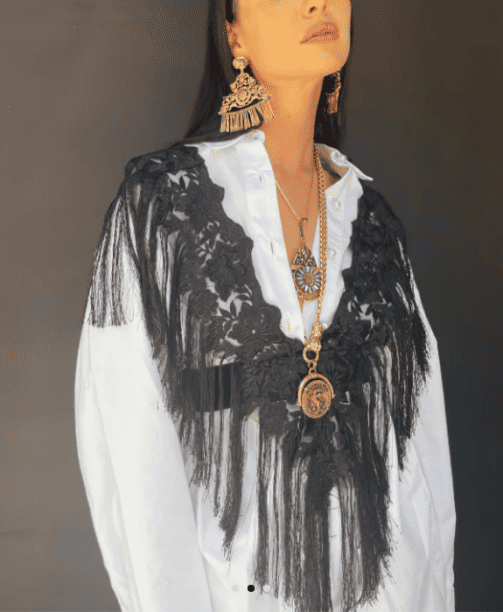
Tamra Judge looks like a modern day sexy saloon girl in her black mesh corset dress. She will fit right in if her and Eddie end up getting a place in Montana. But not only is this dress great for the ranch life (or night life), it’s also great for events and such. Which is why we need to stay on corset to getting one for ourselves.
Sincerely Stylish,
Jess


Seen on #RHOC


Originally posted at: Tamra Judge’s Black Mesh Corset Dress
Read More