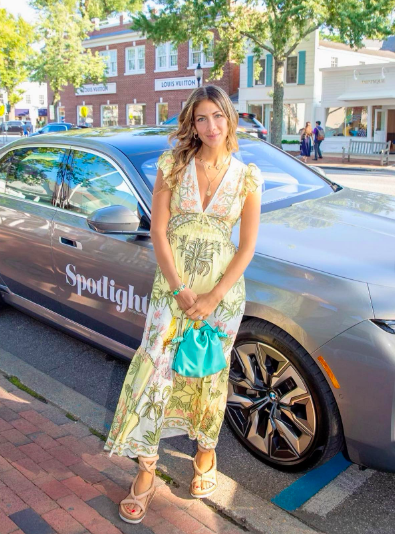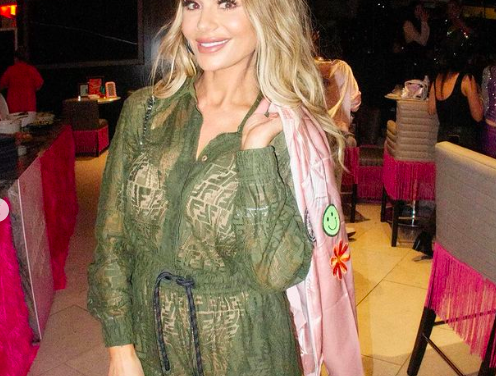
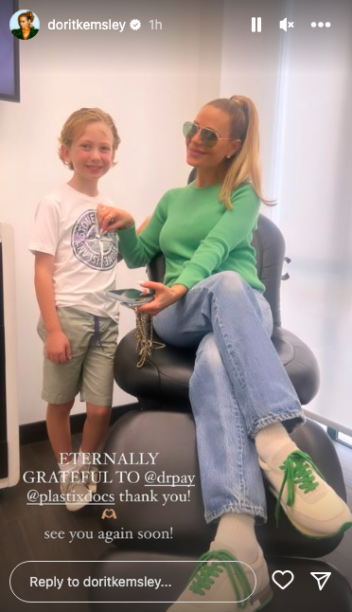
Dorit Kemsley’s Army Green Lace Jumpsuit
Dorit Kemsley’s Army Green Lace Jumpsuit / Real Housewives of Beverly Hills Instagram Fashion August 2023
Looks for Taylor Swift’s Eras tour have had a major moment this summer, and we finally got to see what our favorite Real Housewives fashion queen Dorit Kemsley deemed appropriate for the occasion. And that happened to be a sheer army green jumpsuit with a familiar “F” prominently displayed all over it. Unfortunately, much like tickets to see Taylor, most of us that want to get our hands on it are totally “F”-ed.
The Realest Housewife,
Big Blonde Hair
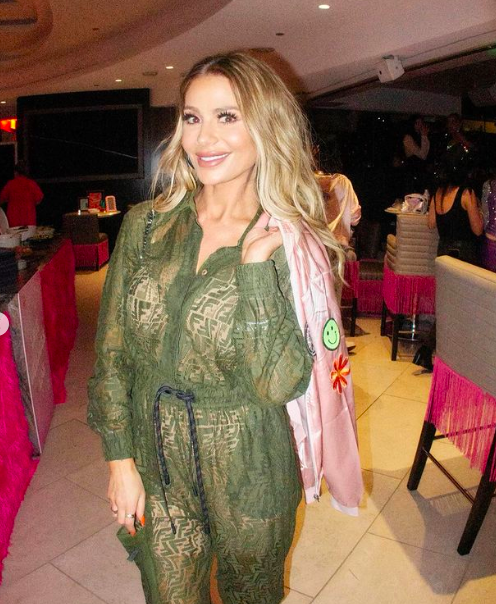
Photo: @DoritKemsley

Spotted On Instagram

Latest Posts


Originally posted at: Dorit Kemsley’s Army Green Lace Jumpsuit
Read More