Knitting is a timeless craft that’s been around for centuries. It’s easy to learn how to knit as long as you have the right supplies and some patience, and you can do it nearly anywhere. Knitting is also an activity anyone can do, no matter their age or skill level.
If you’d like to learn this popular textile art, we’re here to help! Before you start, let’s look at what knitting supplies you’ll need. Then, we’ll cover the basic stitches every beginner should know before they dive into their first project.
Supplies You Need to Learn How to Knit
To start knitting, you’ll need a few basic tools. The first thing is knitting needles, which you use to create stitches and make the fabric of your project. You can buy them online or in craft stores, and they come in various sizes and lengths.
There are standard straight needles, circular needles and double-pointed needles. Straight needles are the easiest to learn on. A pattern will tell you what type, size and length of needles you need to complete a project.
The second thing is yarn, which creates the texture and color of your knitted item. There are many different yarns out there. Yarn comes in various weights, colors, and patterns and is made from many natural and synthetic materials. Some have special properties, like being machine washable. Most patterns specify what yarn weight suits a particular project.
You also need a yarn needle. You’ll use this to weave in your ends when completing a project. You also need a yarn needle to stitch knitted pieces together in some patterns.
Basic Stitches Every Beginner Needs to Know
- Knit stitch
- Purl stitch
- Garter stitch
- Stockinette stitch
- Rib stitch
Knit and purl stitches are the two main stitches you’ll use to create a knit fabric. The difference is that when you knit, you insert your needle into the next stitch from front to back, wrap the yarn around it and pull through. When you purl, you insert your needle from back to front, wrap the yarn around it and pull through.
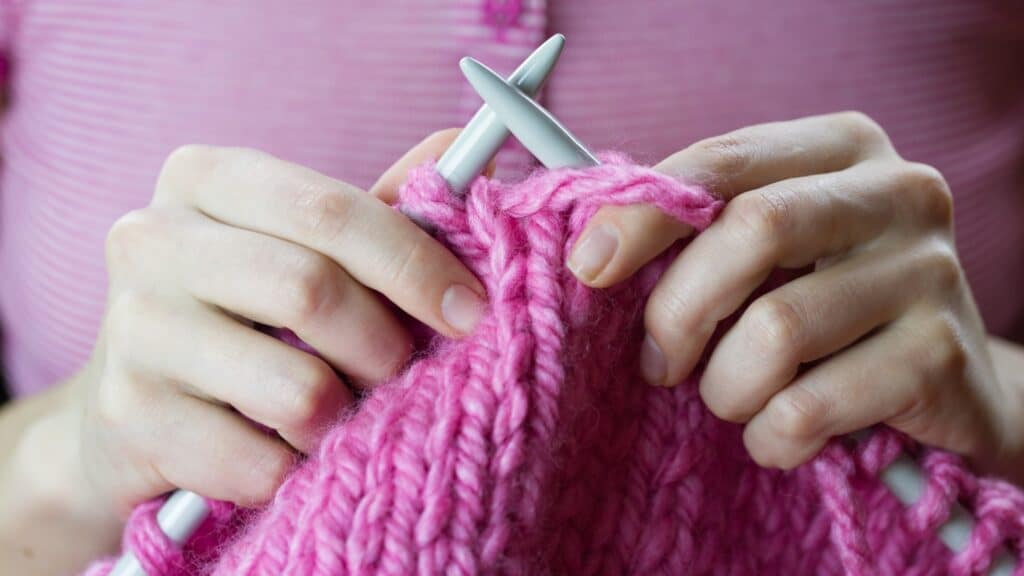
Knitting every row is known as garter stitch, while alternating between knit and purl rows creates stockinette stitch. When you alternate between knitting and purling in the same row, it makes a stretchy rib stitch.
Choose a Simple Pattern
The first step is choosing a pattern. The pattern will detail how many stitches to cast on and what type of stitch to use, so it’s important to choose one that suits your level of knitting experience. It will also let you know what size needle and yarn weight you need. Choose something simple for your first project, like a basic scarf or dishcloth.
Cast on Your Stitches
Casting on stitches is the first step in knitting. These stitches create a foundation row and make it possible for you to knit back and forth or in the round.
The cast-on method used here is called “long-tail cast on.” It’s easy to learn and produces beautiful results every time. The long tail cast on creates a sturdy and even edge and is a great choice for many knitting projects.
How to Do a Long-Tail Cast On
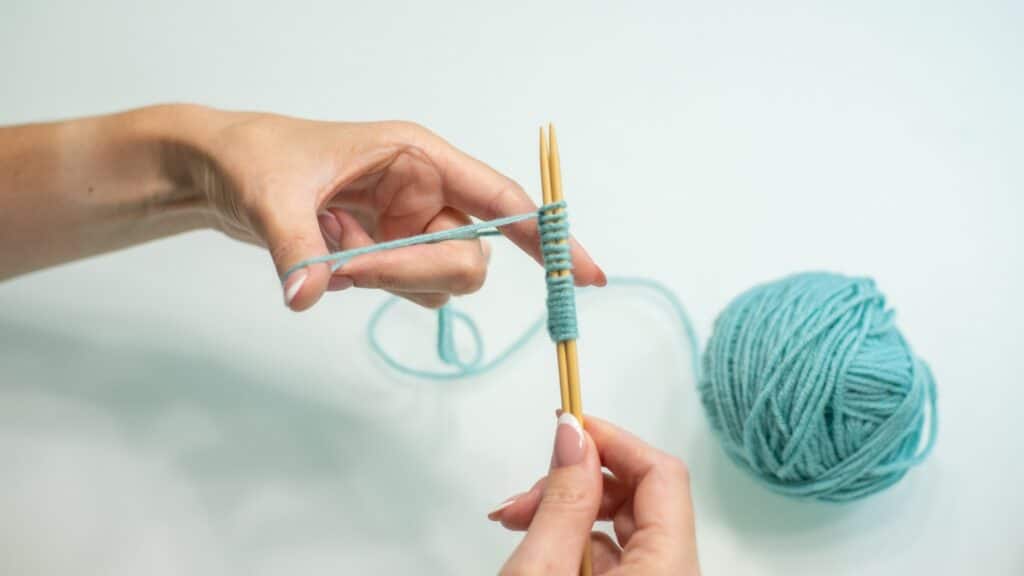
- Measure out a length of yarn roughly four times the width of your knitting project. Hold the tail in your left hand and drape the working yarn (attached to the skein) over your thumb and index finger, creating a slingshot shape.
- Insert your knitting needle under the loop on your thumb and over the yarn on your index finger.
- With your right hand, reach through the loop on your thumb, grab the working yarn, and pull it through.
- Drop the loop from your thumb and tighten the stitch on the needle. This is your first cast-on stitch.
- Repeat steps 2-4 until you have cast on the desired number of stitches for your project.

How to Knit a Stitch
After you cast your desired number of stitches, you’re ready to begin knitting. Here are the steps for doing a basic knit stitch:
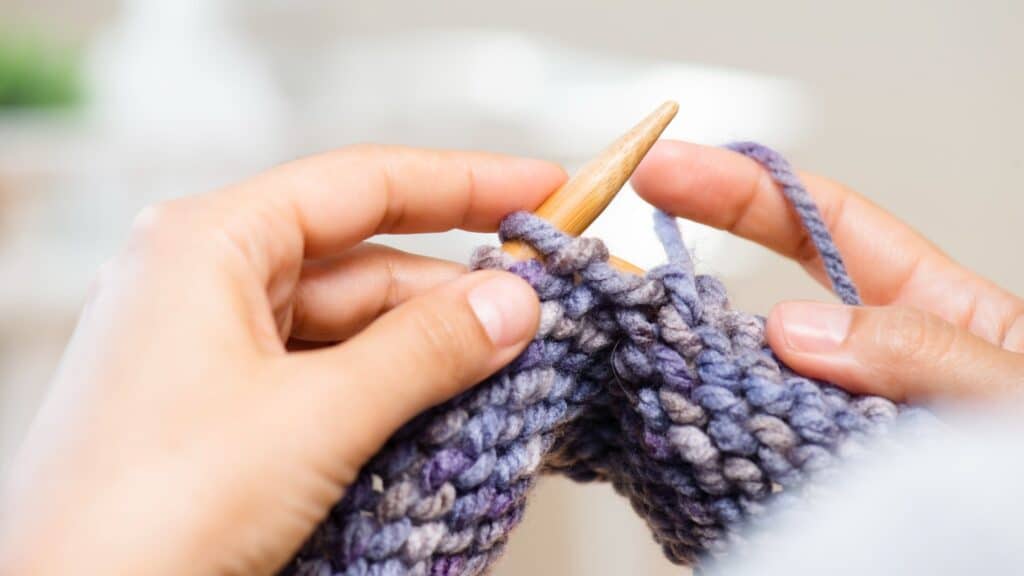
- Hold your knitting needle with the cast-on stitches in your left hand. Hold the other needle in your right hand.
- Insert the right-hand needle from front to back into the first stitch on the left-hand needle.
- Bring the yarn over the right-hand needle from back to front.
- Using the right-hand needle, draw the yarn through the first stitch on the left-hand needle, creating a loop on the right-hand needle.
- Slip the original stitch off the left-hand needle to complete one knit stitch.
- Repeat steps 2-5 for each stitch until you finish.
- When you reach the end of the row, switch the needles to your opposite hands and begin again from step 1 to create the next row.

How to Purl a Stitch
The purl stitch creates a textured pattern on your knitting project and is often combined with the knit stitch to create different patterns and designs. Here’s how to purl a stitch:
- Hold your knitting needle with the cast-on stitches in your left hand. Hold the second needle in your right hand.
- With the right needle, insert the tip into the first stitch on the left needle from right to left, as if you were going to knit.
- Instead of wrapping the yarn around the right needle, bring the yarn in front of your work, between the two needles.
- Use the right needle to scoop the yarn from front to back and through the loop of the first stitch on the left needle.
- Slip the old stitch off the left needle and onto the right needle. This completes one purl stitch.
- Repeat steps 2-5 for each stitch until you finish the row.
- Switch the needles to your other hands at the end of the row and begin the next row by purling each stitch.

What to Do If You Make a Mistake
If you make a mistake, don’t worry! You can fix it. Often, all you need to do is “tink” (knit backward). This process involves knitting in reverse until you reach the mistake in question and fixing it. If this sounds scary or too complicated, don’t worry; there are other options available as well.
Alternatively, you can unravel back to the mistake and re-knit from there. If you choose this method, be careful not to drop any stitches along the way or pick up extras.
How to Cast Off
To cast off, knit 1 stitch and then pass the next stitch over it and off the needle. Repeat until you have one stitch left on your left needle. Finally, pull your yarn tail through that last stitch to secure it, and weave in any loose ends by weaving them into nearby stitches or working them into a row below so they won’t show on top of your work.
Read WHY KNITTING MAKES ME FEEL COOL, CHIC, FUN, AND ACTIVE (IT’S NOT FOR OLD LADIES ANYMORE!)
Let’s Have a Conversation:
Are you a knitting beginner? Is this a hobby you always wanted to learn? How was your experience with knitting your first project? Do you have any tips for other beginners? We’d love to hear from you below!


