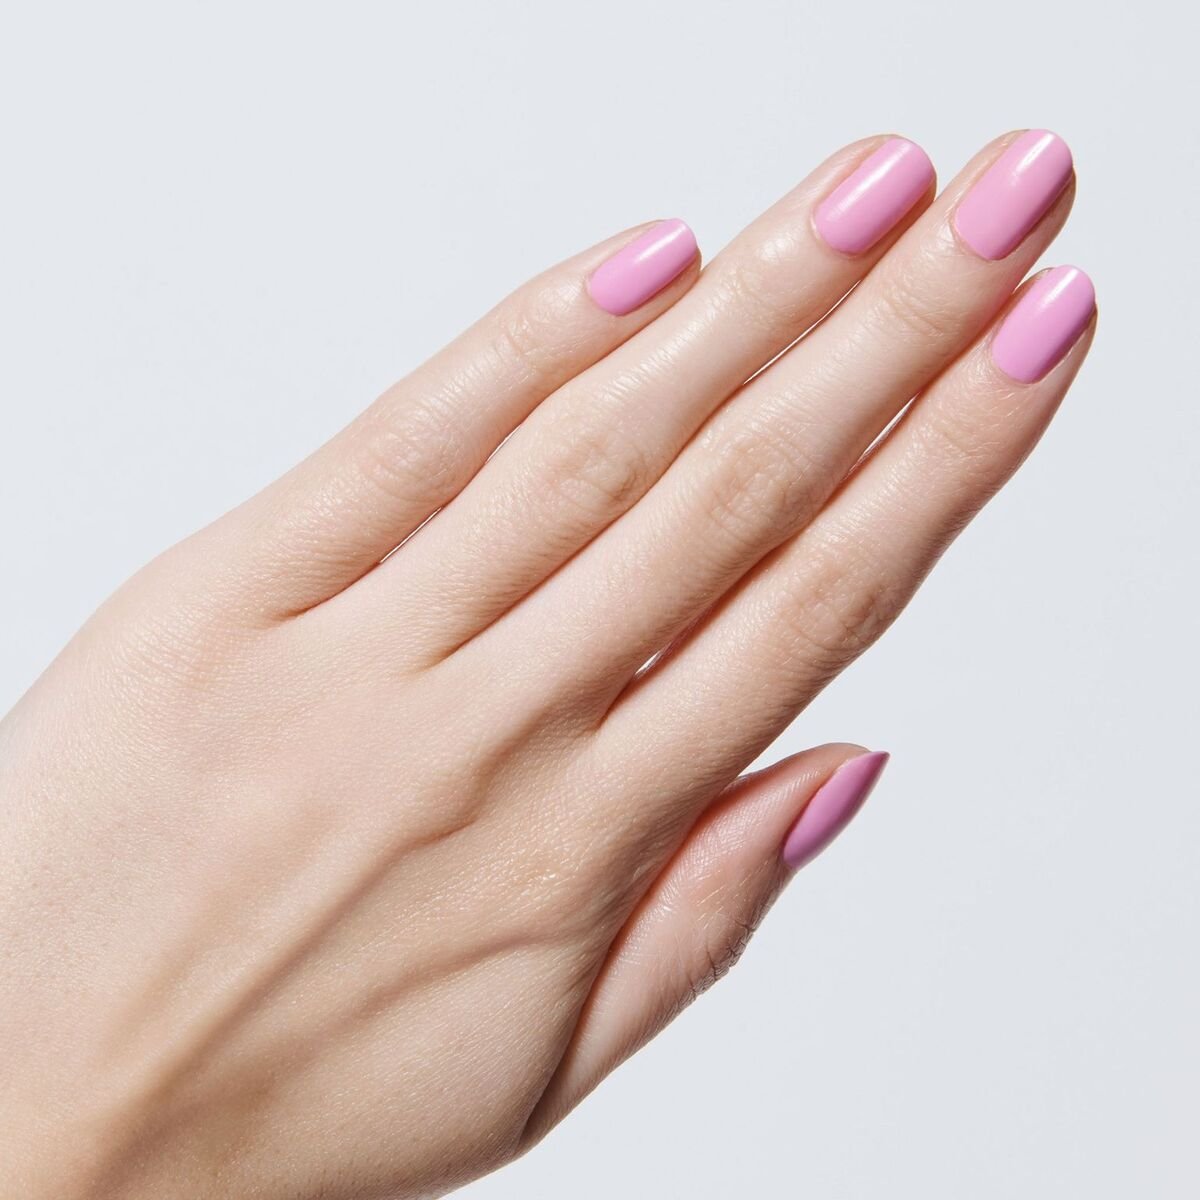
Nail salons are shut down for the foreseeable future and you’re not going anywhere non-essential. While a manicure isn’t the most important thing, a little self-care can go a long way when you’re stuck inside. But if you’re not used to painting your own nails at home, you might be wondering where to start. We went right to the source to find out. Sarah Gibson Tuttle, Founder and CEO of Olive & June, gave us the rundown on three simple manicures you can easily DIY—we promise. Grab your supplies and get ready to learn how to create one-color nails, a half-moon mani and nail art sticker designs.
Go grab your supplies and turn on Netflix (that’s just for the background noise, of course). Every one of these manicures will start with the same three steps. First, you’ll want to shape and file your nails. “It’s all about the 90/10 rule,” explains Gibson Tuttle. “90 percent of your shape comes from your nail clipper. 10 percent from filing.” Cut your nails into the desired shape and then smooth out the edges. Next, you’ll want to swipe nail polish remover onto each nail to remove excess oils. Or, if you’re using Olive & June’s Nail Polish Remover Pot ($8 at Olive & June), dip each nail inside. “Once you’ve prepped your nails, avoid touching your face and hair which have natural oils,” adds Gibson Tuttle.
Finally, you’ll want to trim any hangnails and buff your cuticles. (Don’t remove them!) “Using your buffer, gently glide the buffer cube back and forth along the edge of the cuticle to erase dry skin and smooth things out,” says Gibson Tuttle. Now, your nails are ready to be painted.

Image: Olive & June.
Traditional One-Coat Color
Apply your first coat of polish. Once dry (give it a few minutes!), add a second coat of polish. Clean up any stray polish using a Q-tip or Olive & June’s Clean Up Brush ($8 at Olive & June) dipped in nail polish remover. Once dry, finish with a top coat to add shine and polish protection. “Once your top coat has fully dried, apply cuticle serum to make your mani shine,” says Gibson Tuttle. Her biggest mani trick is to apply a top coat every three days to extend the life of your polish. It “acts as a layer of defense against everything your hands are interacting with,” she adds. She also recommends applying the cuticle serum every day to “hydrate the skin around your nails and cuticles.”

Image: Olive & June.
Half-Moon Manicure
After you’ve prepped your nails, create the shape of a half-moon with the nail polish color of your choice. Let it dry and repeat. Shown here is Olive & June 7-Free Nail Polish in JLR ($8 at Olive & June). You can free-hand it and then clean up the line with the brush and nail polish remover, or you can grab round stickers, such as Avery White Self-Adhesive Reinforcement Labels ($3.79 at Amazon) to use as a guide. Finish with a top coat.

Image: Olive & June.
Simple Flowers
Prep nails and then apply clear nail polish to each nail. Wait until it dries. Grab two nail polish shades, such as Olive & June’s JM Nail Polish ($8 at Olive and June) and JLR again. Dip a toothpick into the shade that will be the middle of the flower (such as JLR) and randomly apply 2-3 dots to as many nails as you’d like. Then, use the second color (here, JM) to dot around each to make the petals. Or, if you’re feeling a little less creative, you can apply some flower nail art stickers, such as Olive & June Nail Stickers in Everyday Bouquet ($7.59 at Target). Just pop a top coat on top.
You’re basically a pro now but if you want to watch Gibson Tuttle show off her tips IRL, the brand is doing a Mani Bootcamp on Instagram every day at 3pm PST from March 22 to April 11. If you need more supplies to get you started, Olive & June is offering free, expedited shipping with code BOOTCAMP.
Our mission at STYLECASTER is to bring style to the people, and we only feature products we think you’ll love as much as we do. Please note that if you purchase something by clicking on a link within this story, we may receive a small commission of the sale and the retailer may receive certain auditable data for accounting purposes.


