The Best Hair Color Remover Wipes for Messy Spills at Home
By now, you’ve probably settled into a stay-at-home haircare routine. On the other hand, perhaps you’re still throwing beauty darts at the wall to see what actually sticks. Understandably so, hair color is a point of concern for many because we usually leave dye jobs to the professionals. However, with salon hours extremely limited and box dye readily available, touching up roots and testing new shades at home is more popular than ever. And since that inevitably leads to a spill or two, the best hair color remover wipes are having a moment as well.
A dollop of dye on your hair strands can be easily redistributed with a brush or gloved hands. But that same dollop on a bathroom sink or your skin can quickly settle in and leave behind a barely-there stain that will always bother you. Thankfully, there are plenty of hair color remover wipes and pads soaked in a gentle mix of exfoliating and soothing ingredients to erase unwanted color without causing irritation. Most of them are also affordable—check out some of the best options below.

Framar.
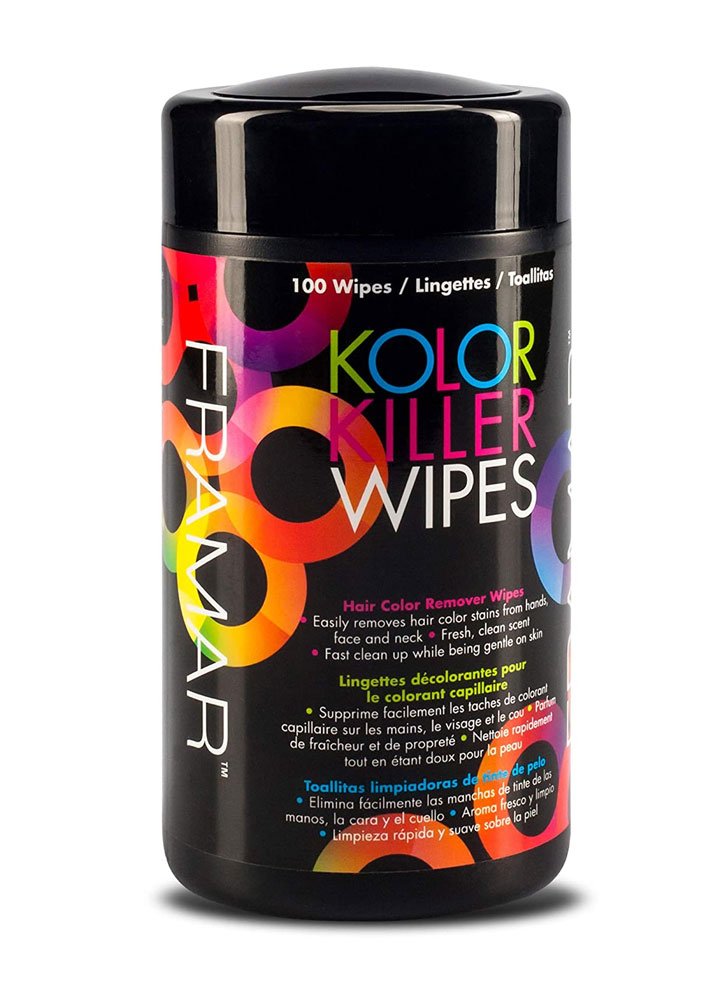
Framar Kolor Killer Wipes
If you want more bang for your buck, these multipurpose wipes clock in at just under $10 with 100 wipes in one container. The gentle, but effective formula includes exfoliating lactic acid, dead sea salt, and soothing aloe. Plus, the fresh and clean scent will overpower the strong hair dye smell.
Buy: Framar Kolor Killer Wipes $9.97

Color Oops.
Color Oops Wipes
On the other hand, if you foresee the hair dye spill being a one-time ordeal, this 10-pack of gentle cleansing wipes will remove permanent and semi-permanent hair color from the face, neck, and hands.

Colortrak.
Colortrak Hair Color Remover Wipes
Here’s another super-sized canister of gentle, aloe vera-infused wipes to keep in your makeshift at-home salon for surprise spills.
Buy: Colortrak Hair Color Remover Wipes $8.45

DyZoff.
DyZoff Pads
If you prefer something smaller for a more targeted approach, these soaked cotton pads will get those hard-to-reach spots behind the ears. Countless Amazon reviewers call it the best hair color remover they’ve ever used, so the hype is probably real.

Redken.
Redken Color Stain Remover
When you’ve applied a smidge too much hair dye to one section of your scalp, these gentle, pre-soaked wipes are safe enough to use on the skin and scalp.
Buy: Redken Color Stain Remover $21
Our mission at STYLECASTER is to bring style to the people, and we only feature products we think you’ll love as much as we do. Please note that if you purchase something by clicking on a link within this story, we may receive a small commission of the sale and the retailer may receive certain auditable data for accounting purposes.

Read More